
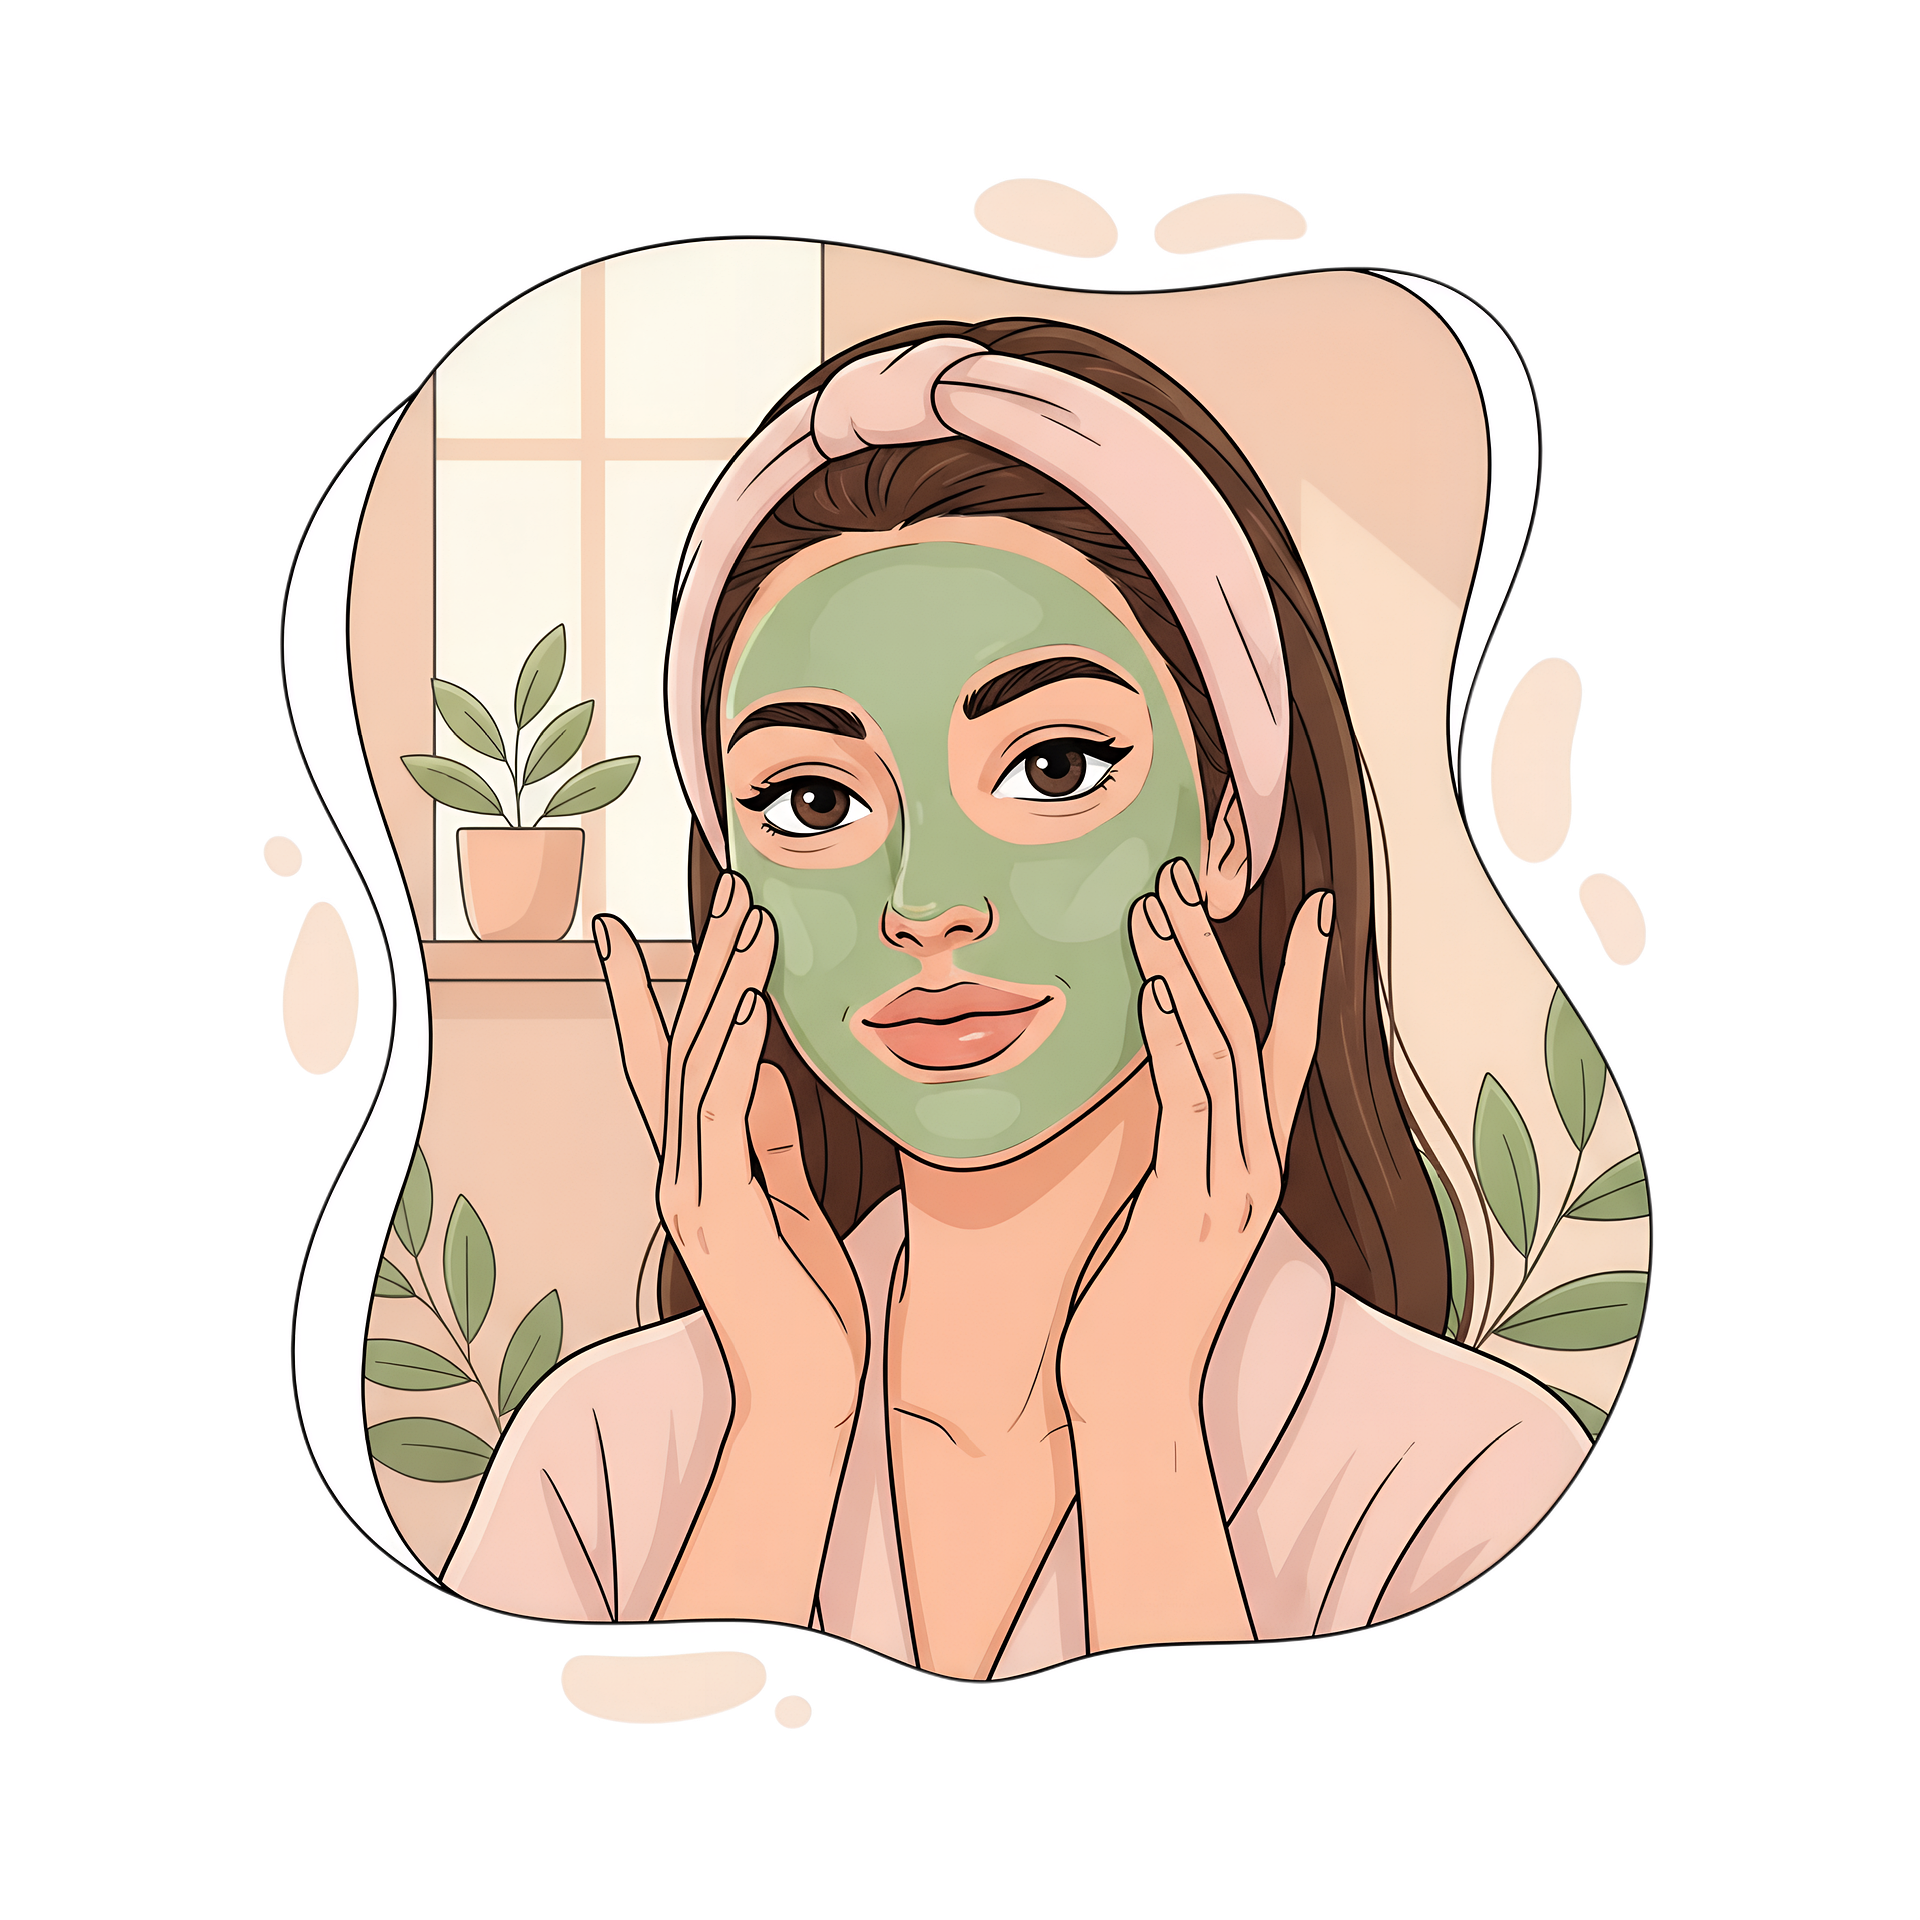
There’s something genuinely restorative about setting aside real time for your skin, no rushing through steps between other tasks, no multitasking, just a slow, deliberate routine built purely around care. You don’t need an expensive spa membership or a cabinet full of luxury products to get that experience. With the right sequence and a bit of intention, you can build a full spa-quality skincare session at home that leaves your skin genuinely refreshed, not just performatively pampered.
Here’s a complete, professionally-structured routine you can recreate anytime you want to give your skin real, focused attention.
Setting the Scene
Before you even touch a product, take a few minutes to set up your space. This isn’t just aesthetic — a calm environment genuinely changes how the whole experience feels and how likely you are to actually slow down instead of rushing through it.
- Tie back your hair with a headband or clip
- Dim harsh overhead lighting if you can, or light a candle
- Put your phone somewhere out of reach for the next 30–45 minutes
- Have all your products laid out and ready so you’re not interrupting the flow to go searching for something
Step 1: Double Cleanse
Start with an oil-based cleanser or cleansing balm, massaging it into dry skin for a full minute or two. This isn’t just about removing makeup or sunscreen (though it does that effectively) — the massage itself helps stimulate circulation and gives you a moment to actually check in with your skin, noticing any areas of tension, dryness, or congestion.
Rinse, then follow with a gentle, water-based cleanser to fully clean the skin itself. Use lukewarm water; hot water feels indulgent but strips more moisture than it’s worth.
Step 2: Steam (Optional But Lovely)
If you want to elevate the experience, a few minutes of gentle facial steaming can help soften skin and prep it for the exfoliation and mask steps ahead. Fill a bowl with hot (not boiling) water, drape a towel over your head, and lean over it from a safe distance for 3–5 minutes. If you don’t have time or prefer to skip this, a warm, damp washcloth pressed to your face for a minute achieves a similar softening effect.
Step 3: Exfoliate
Choose one method, not several stacked together:
- Chemical exfoliant (AHA/BHA) — apply as directed and leave on for the recommended time
- Gentle physical exfoliant — use light pressure in circular motions, focusing on texture-prone areas like the nose and chin
This step should never feel harsh. If your skin feels tight, raw, or uncomfortable afterward, you’ve overdone it. Rinse thoroughly if using a rinse-off formula.
Step 4: Facial Massage (Highly Recommended)
This is the step most at-home routines skip, and it’s genuinely one of the most spa-like additions you can make. Using a facial oil or your regular moisturizer for slip, spend 5–10 minutes massaging your face using upward and outward strokes:
- Start at the center of your forehead, sweeping outward toward your temples
- Move down to your cheeks, massaging in gentle circular motions from your nose outward
- Use your knuckles or a jade roller/gua sha tool along your jawline and neck if you have one
- Finish with gentle pressure along your neck, sweeping downward to encourage lymphatic drainage
Beyond feeling wonderful, facial massage can help temporarily boost circulation, reduce puffiness, and ease tension you’re likely holding in your jaw and forehead without realizing it.
Step 5: Apply a Mask
Choose based on what your skin actually needs that day rather than what looks nicest:
- Clay or charcoal mask — if your skin feels congested or oily
- Hydrating sheet mask or cream mask — if your skin feels dry, tight, or dull
- Soothing mask with ingredients like centella asiatica or oat — if your skin feels sensitive or reactive
- Multi-masking — combine two types for different zones if your skin has combination needs (see our zone-specific combination skin routine for more on this)
Leave on for the time recommended on the packaging, and use this time to actually rest. Lie down, close your eyes, put on a podcast or simply sit in the quiet. This is genuinely part of the skincare benefit, not just a bonus.
Step 6: Rinse or Remove Your Mask
Rinse with lukewarm water or gently peel off a sheet mask, patting any excess essence into your skin rather than rinsing it away.
Step 7: Tone or Apply Essence
A hydrating, alcohol-free toner or essence preps your skin to better absorb the serums and moisturizer that follow. Pat gently into skin rather than dragging a cotton pad harshly across your face.
Step 8: Treat With Serum
Apply a serum suited to your skin’s current needs:
- Hydrating (hyaluronic acid) if your skin feels dehydrated
- Brightening (vitamin C) if you’re targeting dullness or uneven tone
- Calming (niacinamide, centella) if your skin feels reactive after exfoliating
Press gently into skin rather than rubbing, giving it a minute to absorb before moving on.
Step 9: Eye Cream
If you use one, gently pat a small amount around your orbital bone using your ring finger, which naturally applies the lightest pressure. The skin here is thin and delicate, so this should always be a light, patting motion, never rubbing or pulling.
Step 10: Moisturize
Seal everything in with a moisturizer suited to your skin type. If your skin is feeling especially dry after exfoliating and masking, don’t hesitate to layer a richer cream or a few drops of facial oil on top for extra comfort.
Step 11: Neck and Décolletage
An easy step to forget, but the skin on your neck and chest is often thinner and shows signs of neglect just as visibly as your face. Extend your moisturizer (and sunscreen, if it’s daytime) down over your neck and upper chest.
Optional Finishing Touches
- Lip mask or balm — lips get dehydrated too, especially after steaming
- Cooling eye patches — a nice final touch if you want to lie back and relax for another few minutes
- Facial oil mist — a few spritzes for a dewy, refreshed finish
How Often to Do This Full Routine
This isn’t a daily routine, and it’s not meant to be. Once a week or every other week is a realistic, sustainable cadence that lets your skin genuinely benefit from the deeper steps (exfoliation, masking) without overdoing it. On the days in between, your regular, simpler routine is what does the daily maintenance work.
A Few Things to Keep in Mind
- Don’t stack too many actives in one session. Exfoliating, then following with a strong active serum, then a potent mask can overwhelm your skin, even if each product is fine individually.
- Patch test anything new before including it in your spa day, rather than discovering a reaction in the middle of your relaxing routine.
- Listen to what your skin is telling you that day. If it feels irritated or sensitive, skip the exfoliation step and focus purely on hydration and calming ingredients instead.
- The ritual matters as much as the products. Slowing down, actually paying attention to your skin, and giving yourself uninterrupted time is a real part of why this routine feels so different from your regular daily one.
The Takeaway
An at-home spa day doesn’t require expensive treatments or professional tools to feel genuinely restorative. The real value comes from the combination of a thoughtful, well-sequenced routine and the simple act of giving yourself unhurried time to actually care for your skin. Do this once a week or every couple of weeks, pay attention to what your skin actually needs each time rather than following the same steps rigidly, and you’ll find it becomes one of the more grounding parts of your routine, not just another item on a self-care checklist.
Leave a Reply